
Drawing a beautiful fruit bowl can be a rewarding and creative endeavor, allowing you to express your artistic skills while exploring the vibrant colors and shapes of various fruits. This recipe guides you step-by-step in creating a stunning fruit bowl drawing that showcases your talent.
This fruit bowl drawing recipe stands out because it captures the essence of freshness and vibrancy found in nature. By focusing on the shapes, textures, and colors of the fruits, you will learn to create a composition that feels lively and inviting.
The process begins with basic shapes and gradually builds complexity, ensuring that artists of all skill levels can follow along. You'll discover how to portray fruits like apples, bananas, and oranges, along with the intricacies of shading and blending to add depth and realism to your piece. The beauty of this drawing lies not only in the fruits themselves but also in the arrangement and the bowl they rest in, enhancing the visual appeal of your artwork.
To create your fruit bowl drawing, gather the following tools:
To achieve the best results, start by lightly sketching the basic shapes of the fruits before adding details. This helps to keep proportions accurate without committing to heavy lines. Pay attention to the light source in your drawing, as this will guide your shading and create depth.
When coloring, layer your colored pencils for a richer appearance and use a blending stump to smooth transitions. Always keep your workspace clean and organized to facilitate creativity. Remember to take breaks to step back and assess your drawing from a distance, which can help you see areas needing adjustment. If you're using any wet media, ensure you protect your work area to avoid spills. Keep food and drinks away from your materials to maintain a clean drawing environment.
Store your drawing flat in a portfolio or frame it to protect it from damage.
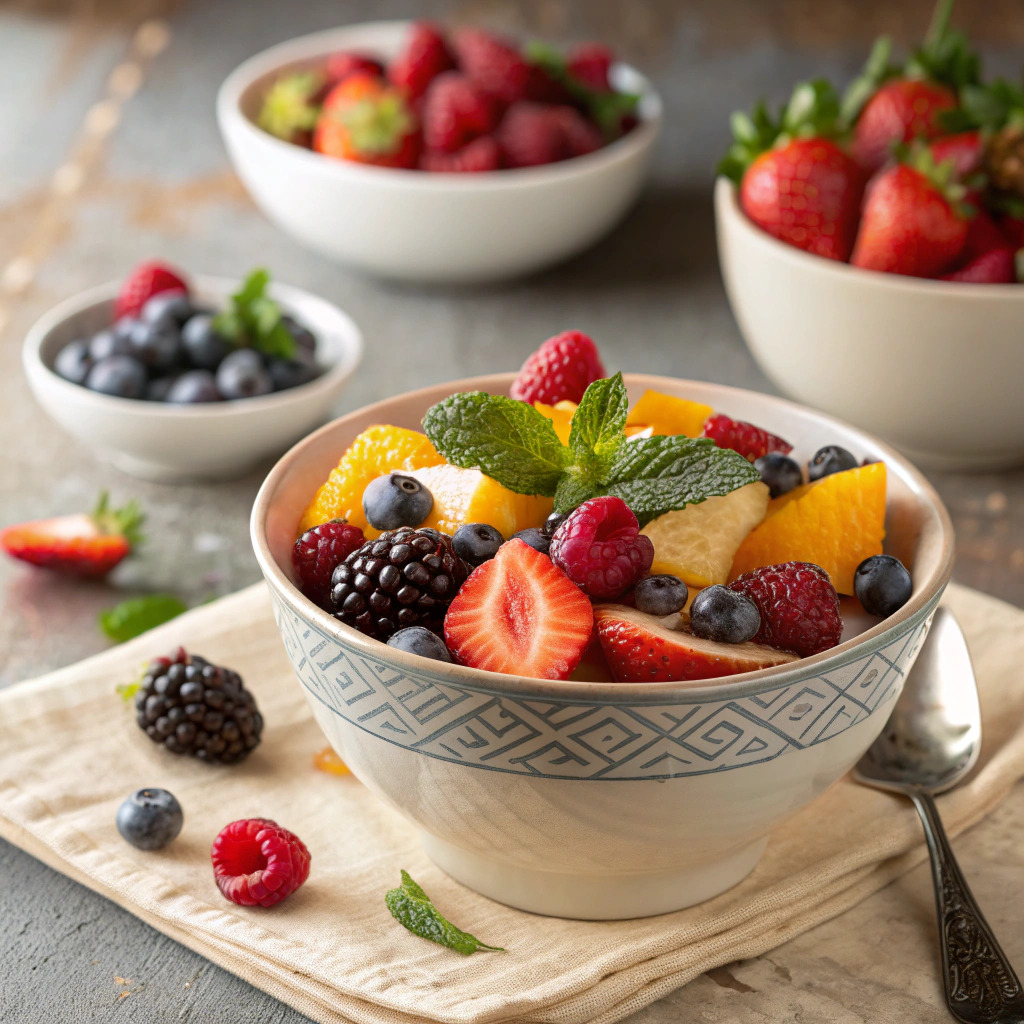
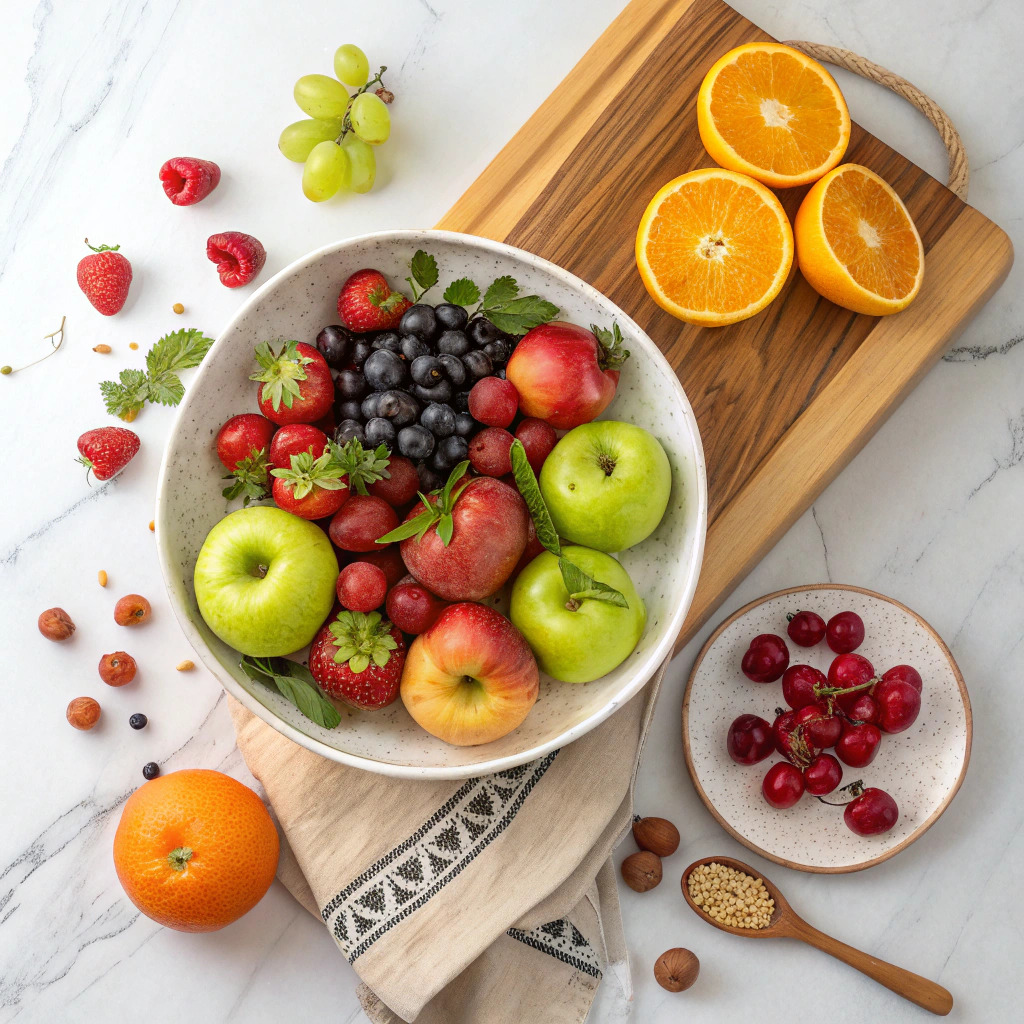
Consider experimenting with different fruit combinations in your bowl, such as tropical fruits like pineapples and kiwis, or seasonal fruits like berries and peaches. You can also change the style of the bowl; try drawing a ceramic bowl with intricate designs or a simple glass bowl to highlight the fruits. Additionally, experimenting with different backgrounds can enhance your composition, whether you choose a simple tablecloth or a vibrant kitchen scene.
Once your fruit bowl drawing is complete, consider framing it to display in your home or gifting it to a friend. You can also create a series of fruit drawings to showcase different fruits throughout the seasons. Sharing your artwork on social media can inspire others and create a community of fellow artists who appreciate your work.
| Problem | Solution |
|---|---|
| The proportions of the fruits look off. | Use reference images to compare your drawing with real fruits, adjusting shapes and sizes as needed. |
| The colors don’t seem vibrant enough. | Layer additional colors and use a blending stump to smooth transitions for a more dynamic look. |
| My shading looks harsh or uneven. | Practice using lighter pressure when shading and blend areas with a stump or cotton swab for a softer appearance. |
| I’m unsure about the background. | Keep it simple at first; a plain color can help the fruit bowl stand out. As you gain confidence, experiment with more detailed backgrounds. |
What if I make a mistake while drawing?
Use an eraser to correct any mistakes and adjust your drawing as needed.
Can I use markers instead of colored pencils?
Yes, markers can be used for a different effect, but be mindful of bleed-through on your paper.
How do I choose the right colors for my fruits?
Reference real images of fruits to select colors that closely match their appearance.
Is it necessary to use a blending stump?
While not necessary, a blending stump can help achieve smoother shading and blending in your artwork.